Sep 5, 2019
You’re on your way to work, running late for an appointment and then all of a sudden one of your tyres has gone flat… this is the last thing you needed.
A flat tyre always seems to happen at the worst time possible, and if you are inexperienced in the area, it can seem like a really difficult and daunting task!
However, don’t panic. This post is going to tell you everything you need to know, including the type of equipment you need and a step by step guide to help you through the process of fixing a flat tire.
If you follow our steps, it shouldn't take more than 30 minutes to change a tyre. Some people can do it quicker, but we advise you to take your time to ensure no mistakes are made, especially if it’s your first time changing a tyre.
If you want, you can practice changing your tyre at home to ensure that you are ready to handle the stressful situation.
Make sure you find a safe place to park your car. It’s better if you drive somewhere safe and damage the wheel rim than stop somewhere dangerous and try and change your tyre (e.g. narrow roads, motorways etc)
Turn on your hazard lights and leave them on while you are changing your tyre. If you have one, place your warning triangle out to let other drivers know and put on a reflective jacket.
Apply your handbrake, remove all passengers and get all the necessary equipment from the car.
Wheel wedges prevent your car from moving while the car is jacked.
Put the wedge on the opposite wheel to the one with a puncture (e.g. if your front-left tyre is flat, put the wedge on the back-right wheel).
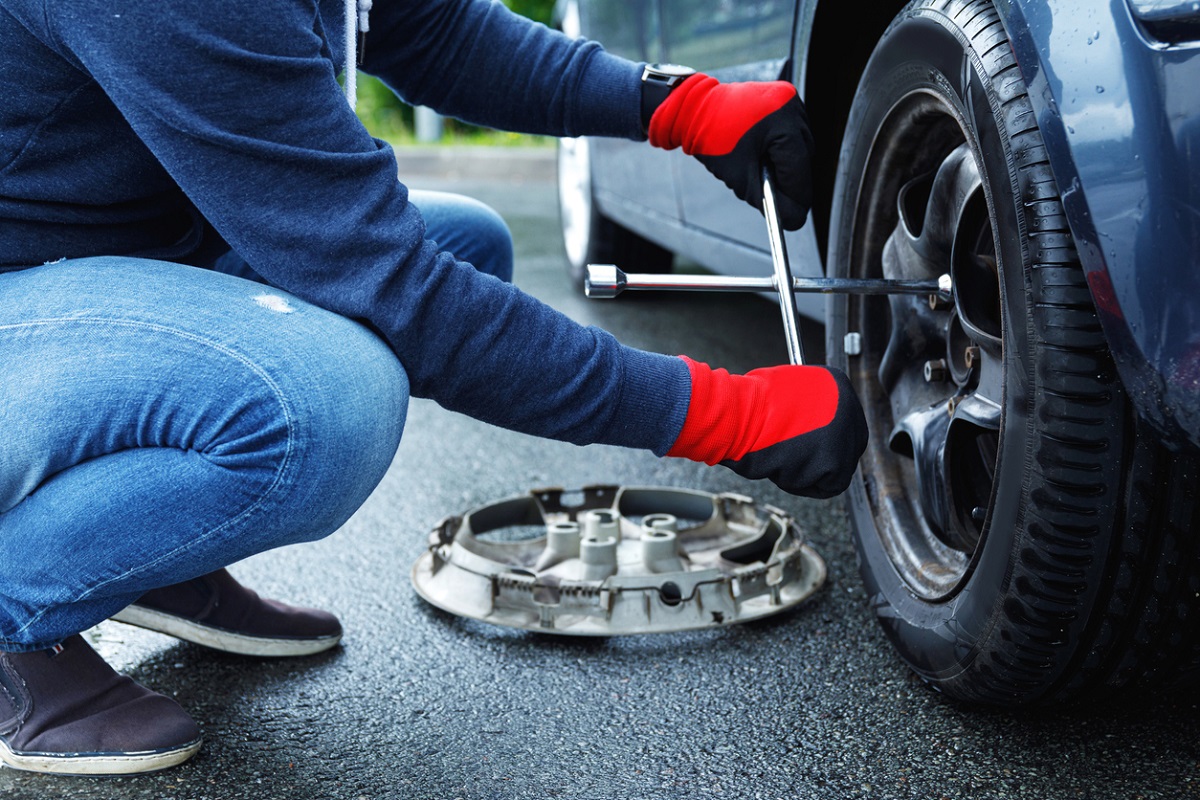
If your tyres have a wheel cover, covering the nuts then it's easier to remove this before lifting up your vehicle. Remove this by using the flat end of our wrench. However, it’s important to note that even though this method will work for most vehicles, sometimes the wheel cover needs a different tool for it to come off. To make sure, check your handbook for the proper way to remove your wheel cover.
It’s much safer to do this step before you jack up your car.
Loosen the nuts by turning the wrench anti-clockwise until they can be turned by hand, but don’t remove them completely yet!
This may be difficult to do and could require a large amount of force which is okay. If needs be, use your foot or your body weight to loosen the nuts.
All cars have their very own designated jacking points: refer to your handbook to see where yours are.
Aim to position the jack at the side of the car, close to the punctured wheel. Before raising the jack, place a small piece of wood under the jack to keep it stable. Now you can raise the car slowly until the flat tyre is about 15cm off the ground.
Do not, at any point, put any part of your body under the vehicle during or after raising the vehicle with the jack.
Fully loosen and remove the nuts.
Grab the tyre by the trends and gently pull the tyre towards you until it comes free and place it flat on the ground so it doesn’t roll away.
Line up the spare wheel and slide it onto the hub bolts. Push the tyre gently until the bolts show through the rim.
Put the lug nuts back on the lug bolts and tighten them all the way using your hand. Double-check each one again, tightening them as much as possible.
By using the jack, slowly drop down the car so that the spare tyre is in contact with the ground but the full weight of the car isn’t on the tyre.
Using the wrench, fully tighten the nuts by turning it clockwise as much as you can again; use your full body weight and push down on the wrench to ensure the nuts are as tight as they can be.
Bring the car down to the ground and remove the jack. Tighten the nuts one last time to ensure they are okay.
If the wheel cover that you took of your flat tyre will fit onto your spare, then put it back on the same way you took it off.
If you aren’t sure, check your handbook for instructions.
Now put the jack, wrench, the flat tyre and all of your other equipment back into your boot before you drive away.
It’s important to note that if your car has a space saver, then your flat tyre will take up more space in your boot. This is because a space saver is much thinner than your standard tyre and should only be used until you can get your flat tyre repaired.
If you have a tyre pressure gauge then you need to check and make sure that your spare tyre is fully inflated. If your spare tyre is a space saver or a mini-spare, then the required pressure you need to have is 60 psi.
If you don’t have a tyre pressure gauge or your tyre isn’t fully inflated then you need to drive slowly and carefully to the nearest garage. If you aren’t sure what the recommended pressure is then to check your handbook
Visit MyCarNeedsA.com and enter in a few details about your car to get a quote for a new tyre from local garages and mechanics near you.
Our aim is to find you the best deal possible from your local garages. All you need to do is relax while we do the work! Get your car back on the road with a minimal amount of time and effort today.