Jul 5, 2019
How to Flush Brake Fluid
Brake fluid is a hygroscopic fluid that absorbs water, which makes it less effective. It can eventually lead to corrosion and rust, which is problematic in newer vehicles with ABS systems. Brake fluid can also lose its viscosity because of excessive heat generated by the car engine and braking system.
It’s recommended that car owners should flush brake fluid once a year, but if you do a lot of hard braking, you should be flushing it every six months. With hard braking, the brake rotors will accumulate heat in the brake system, which boils the fluid creating air bubbles. Bleeding the brake system will help get rid of those bubbles.
If you’re going to do it yourself, you’re going to need an extra pair of hands! Make sure you have the right equipment on hand, such as safety goggles and fresh brake fluid!
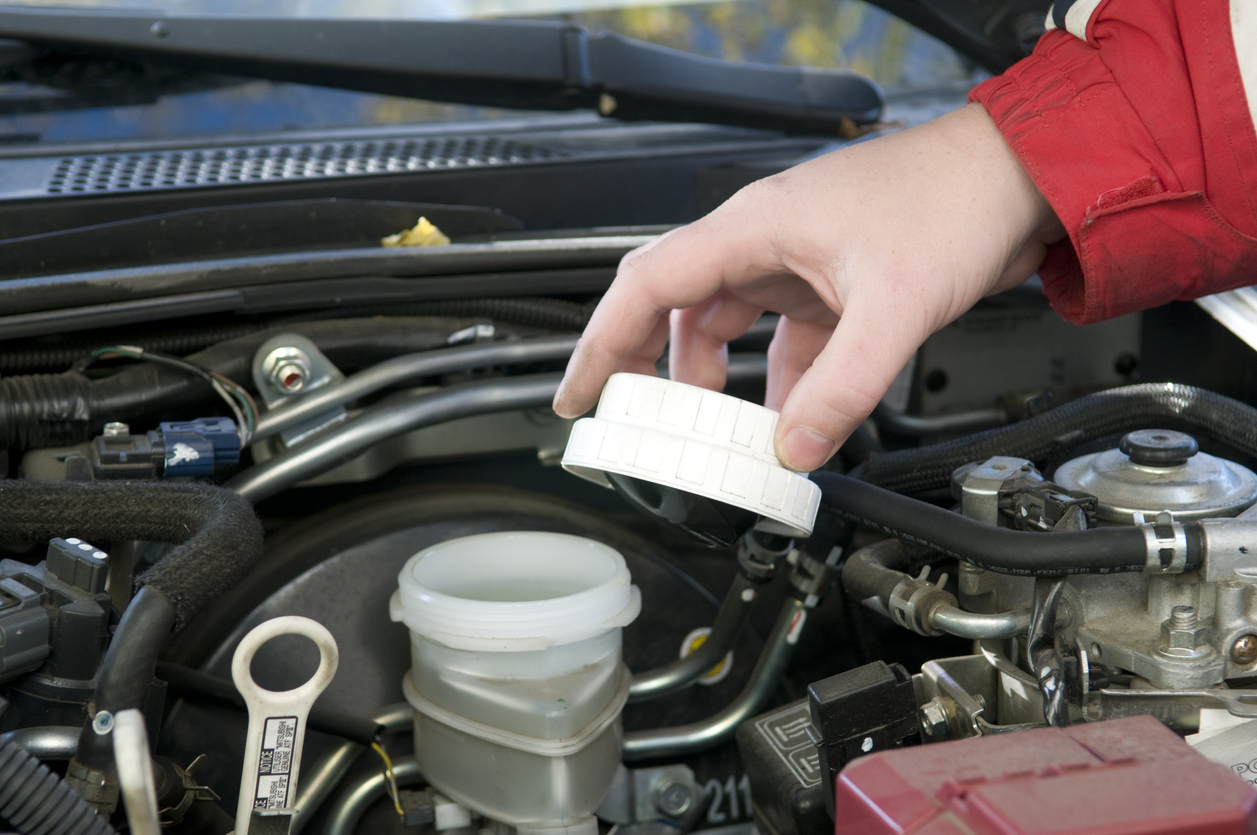
Start the process by ensuring your car is parked on a level surface to prevent the car rolling when the vehicle is hoisted into the air. Pop the hood of the car and spray brake cleaning solution on the master cylinder and wipe clean with a lint-free cloth to prevent contamination. Open the master cylinder and start removing as much of the old brake fluid as you can. A top tip is to use a large syringe or turkey baster. Most likely 20% will remain and that’s ok. Once it’s empty begin refilling with new brake fluid.
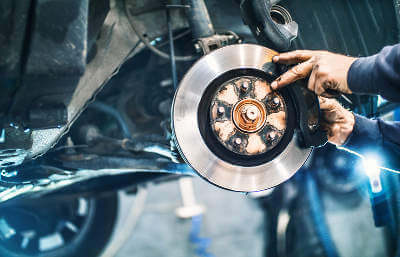
You will need to jack the car up to gain access to the brakes. Release the bleeder valve, taking care not to break it. Most new vehicles will be using what’s known as the diagonally split system, which should be loosened from corner to corner, start with the front left break, followed by the rear right brake. Followed by the right front brake and the left rear brake.
Using an assistant, have them pump the brakes around 4-5 times and they should notice it will get stiffer. While the brake pedal is being held down by the assistant, open the bleeder valve and the fluid will come out. The trick to doing it right is that you want your assistant to notify you when the close the valve, right before they hit the bottom of the brake pedal.
You will need to repeat this process on each brake until all four of the valves have produced clear fluid. Make sure the brake fluid never gets below minimum marker on the master cylinder as this will allow air to get into the system. If this happens, the process will need to be restarted.
All ABS systems will differ from one car model to the next. The brake needs to be depressed by your assistant while the engine is running. Once it is fully pressed down, the engine needs to be turned off and the valves need to be opened for 10 seconds, before being tightened again. Repeat this process until each valve is producing a clear fluid. The reservoir will need topped up again during this process.
Make sure you have solid brakes before driving!
Don’t want to do this yourself? Enter your reg number today and we will gather quotes from our local mechanics in your area to do the job for you!